Deploying Ghost to AWS with EC2, RDS and NameCheap

In this post we are going to learn about the deployment of Ghost, a powerful app for new-media creators to publish, share, and grow a business around content. We will focus on self-hosting the platform using AWS Services and a third party domain registrar (NameCheap). You are absolutely in the right place if any of these sounds interesting to you:
- AWS Account setup
- AWS Administrator Account Setup
- Deploy the infrastructure (Ubuntu EC2, Mysql RDS and connectivity)
- Ghost Installation in Ubuntu
Note: I will make reference to other sites/blogs to keep the content as relevant as possible, the videos and guides get outdate and AWS mantains the articles constantly with the latest changes.
Step 1. AWS Account Setup
Follow the steps in this article:

AWS will not charge any fee if you are using the free tier for one year and you have to put your credit card there is no other way, I tried.
Step 2. AWS Administrator Account Setup
This step is optional but is recommended to work on a administrator AIM for security reasons.
2.1 First enable IAM Identity Center to be able to create an administrator account.
2.2 Create the Administrator account following the following AWS Workshop:
Follow the "Create an IAM Admin User" step including the access key for the Administrator account, you need the key to associate to the EC2.
Step 3. Deploy the infrastructure
The following diagram represent the architecture we are going to deploy:
<Diagram>
Step 3.1 Creating a EC2 Instance to Run a Ghost Server
- VPC : Default VPC
- Region: Oregon(us-west-2)
Step 3.2 Setup up a RDS instance for Ghost Server
Step 3.3 Setup connectivity
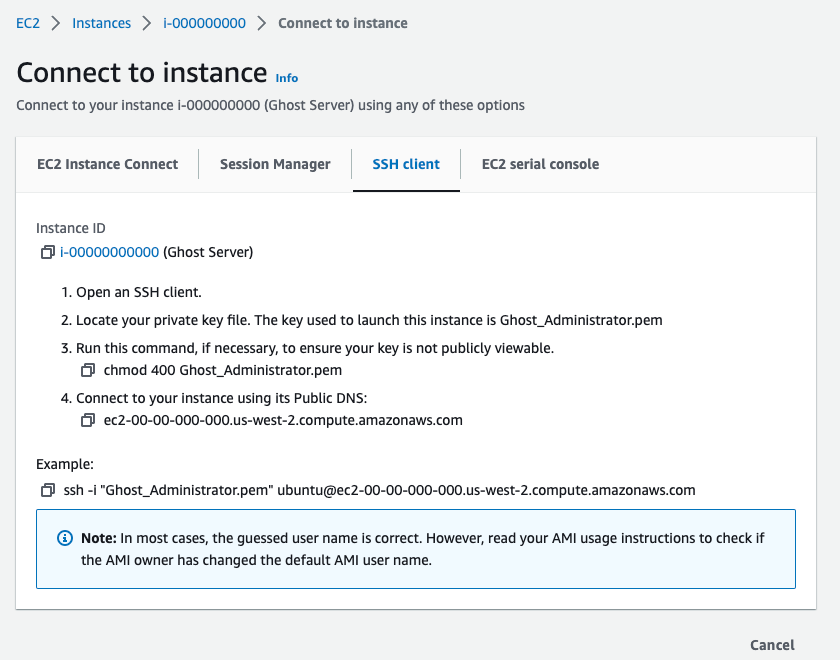
Navigate to EC2 services, click on Instances(running) under Resources.
- Select the Ghost Server
- Under Actions click on the Connect button.
- You will copy and paste information from this window to your Mac Terminal window later.

Next, open a Terminal on your Mac and navigate using the cd (change directory) command to the folder containing the private key file (.pem) created during the EC2 configuration process. This is usually in the Downloads folder unless you moved the file to another folder.
Copy paste the example command and login into the Ubuntu EC2.
Step 4. Ghost Installation in Ubuntu
Step 4.1 Testing database connection
Before we start the configuration, test you connection from Ubuntu EC2 to Mysql RDS.
telnet ghost-db.0000000000.us-west-2.rds.amazonaws.com 3306

# Control + C to exit
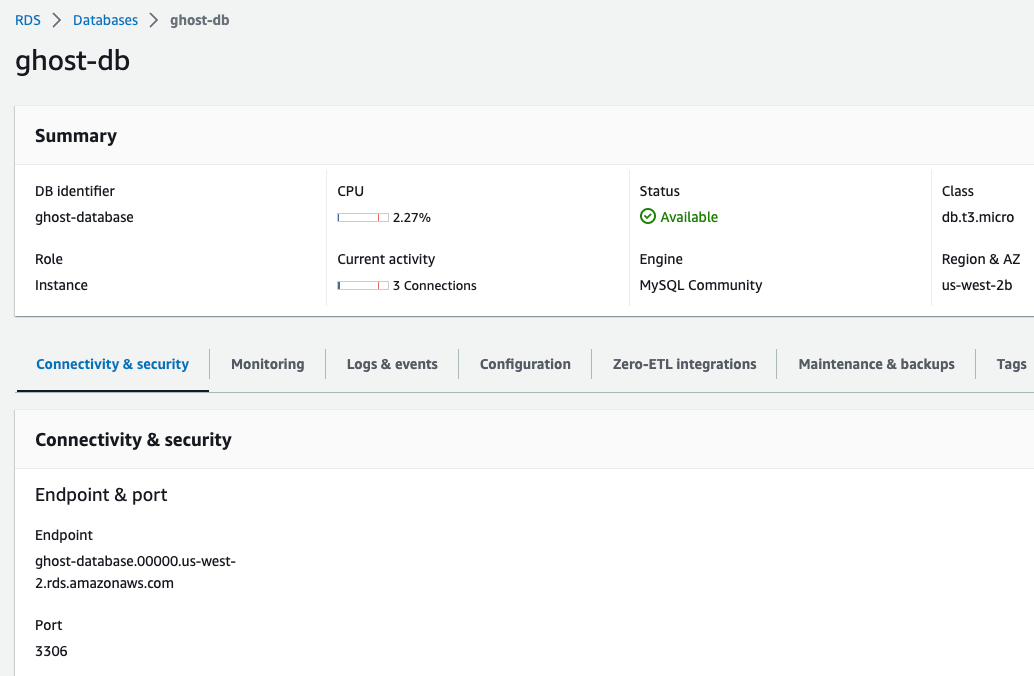
The configuration of your RDS is under RDS > Databases > ghost-db> Endpoint

Step 4.2 Configure Domain (Namecheap)
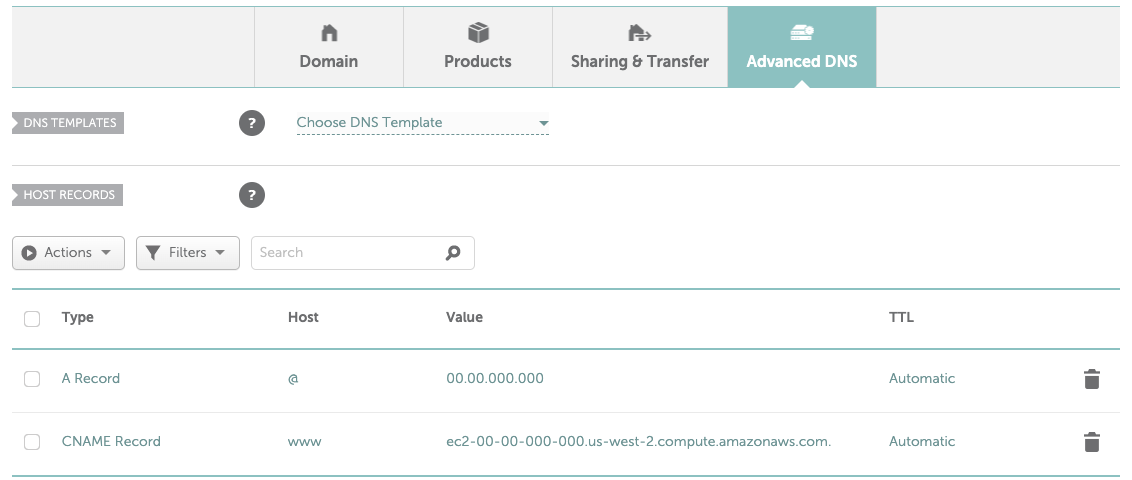
Before getting started you should set up a working DNS A-Record from you domain, pointing to the server’s IP address. This must be done in advance so that SSL can be configured during setup.
Under your domain, select Advanced DNS and add or modify 2 records:
- A Record: IP of your EC2
- CNAME Record: Public DNS of your EC2

Step 4.3 Install ghost in EC2
For the official steps follow the below website, if you have any problems with the commands use sudo before the command.

After you finish the installation make sure you login to https://<domain>/ghost and create your administrator account. Until you create your administrator anyone can login and create a user.
Happy writing!!!


